
Intro
Apache Airflow is a platform to programmatically author, schedule and monitor workflows. The airflow scheduler executes your tasks on an array of workers following the specified dependencies.
Why Airflow?
People usually need to execute some tasks periodically. One common solution is to use Cron which is a good solution for simple tasks. But the more tasks you need to schedule the more problems you will have, especially if there are dependencies between one another.
Airflow allows to define workflows of tasks and you can define them as code making it more maintainable, versionable, testable and collaborative. Check out the Airflow documentation for more information.
Installation
First of all you will need a Linux machine. I’d suggest you use an AWS EC2 instance. You can see Creating EC2 instances in AWS how to create one.
Then you can download airflow:
sudo AIRFLOW_GPL_UNIDECODE=yes pip3 install apache-airflowWhen it is installed you can initialize the database (it will be SQLite by default):
airflow initdbTest Airflow
We will test airflow with an example from Airflow documentation. You will need to create the file tutorial.py:
cd airflow
mkdir dags
cd airflow
nano tutorial.py
And then paste the example and save the file:
~/airflow/dags/tutorial.py
"""
Code that goes along with the Airflow tutorial located at:
https://github.com/apache/airflow/blob/master/airflow/example_dags/tutorial.py
"""
from airflow import DAG
from airflow.operators.bash_operator import BashOperator
from datetime import datetime, timedelta


default_args = {
    'owner': 'airflow',
    'depends_on_past': False,
    'start_date': datetime(2015, 6, 1),
    'email': ['airflow@example.com'],
    'email_on_failure': False,
    'email_on_retry': False,
    'retries': 1,
    'retry_delay': timedelta(minutes=5),
}

dag = DAG(
    'tutorial', default_args=default_args, schedule_interval=timedelta(days=1))

# t1, t2 and t3 are examples of tasks created by instantiating operators
t1 = BashOperator(
    task_id='print_date',
    bash_command='date',
    dag=dag)

t2 = BashOperator(
    task_id='sleep',
    bash_command='sleep 5',
    retries=3,
    dag=dag)

templated_command = """
    {% for i in range(5) %}
        echo "{{ ds }}"
        echo "{{ macros.ds_add(ds, 7)}}"
        echo "{{ params.my_param }}"
    {% endfor %}
"""

t3 = BashOperator(
    task_id='templated',
    bash_command=templated_command,
    params={'my_param': 'Parameter I passed in'},
    dag=dag)

t2.set_upstream(t1)
t3.set_upstream(t1)
You can test that things are going as expected if the following command does not raise any exception:
python3 ~/airflow/dags/tutorial.pyValidate metadata
You can check that the tutorial dag has been properly created with:
# print the list of active DAGs
airflow list_dags

# prints the list of tasks the "tutorial" dag_id
airflow list_tasks tutorial

# prints the hierarchy of tasks in the tutorial DAG
airflow list_tasks tutorial --tree
Run the test
You can launch tasks with the following commands:
# command layout: command subcommand dag_id task_id date

# testing print_date
airflow test tutorial print_date 2015-06-01

# testing sleep
airflow test tutorial sleep 2015-06-01

# testing templated
airflow test tutorial templated 2015-06-01
Use Airflow UI
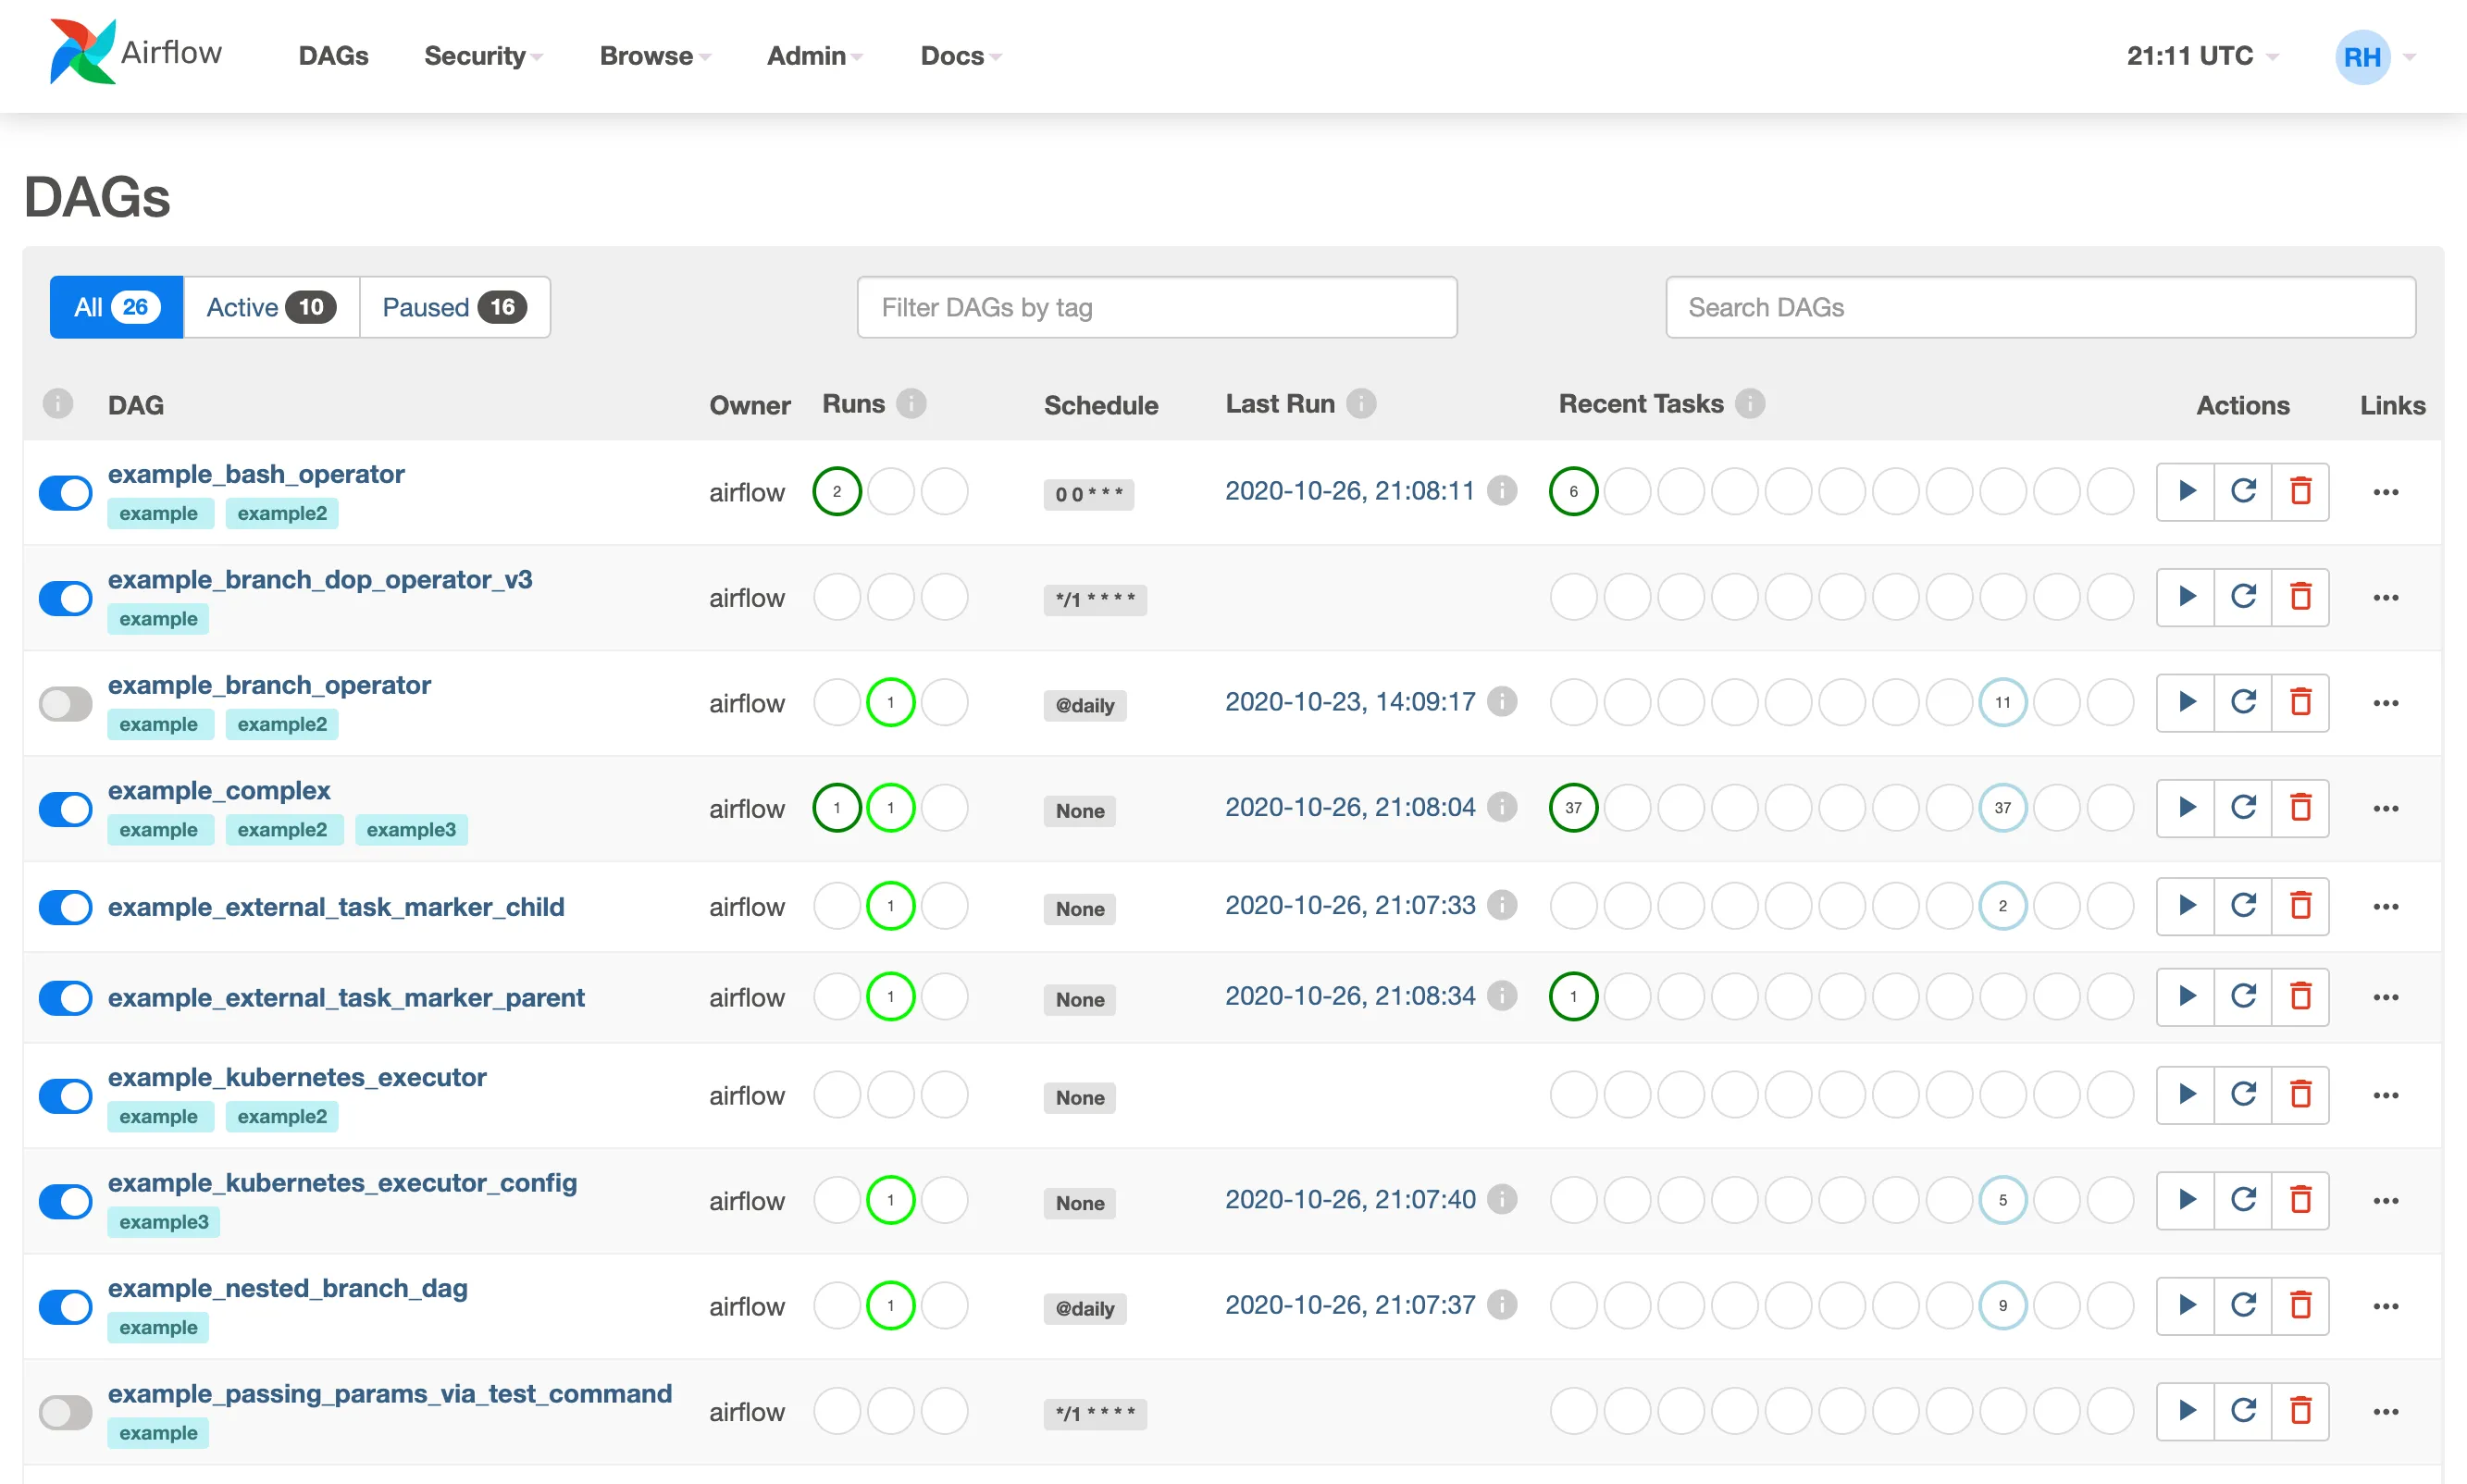
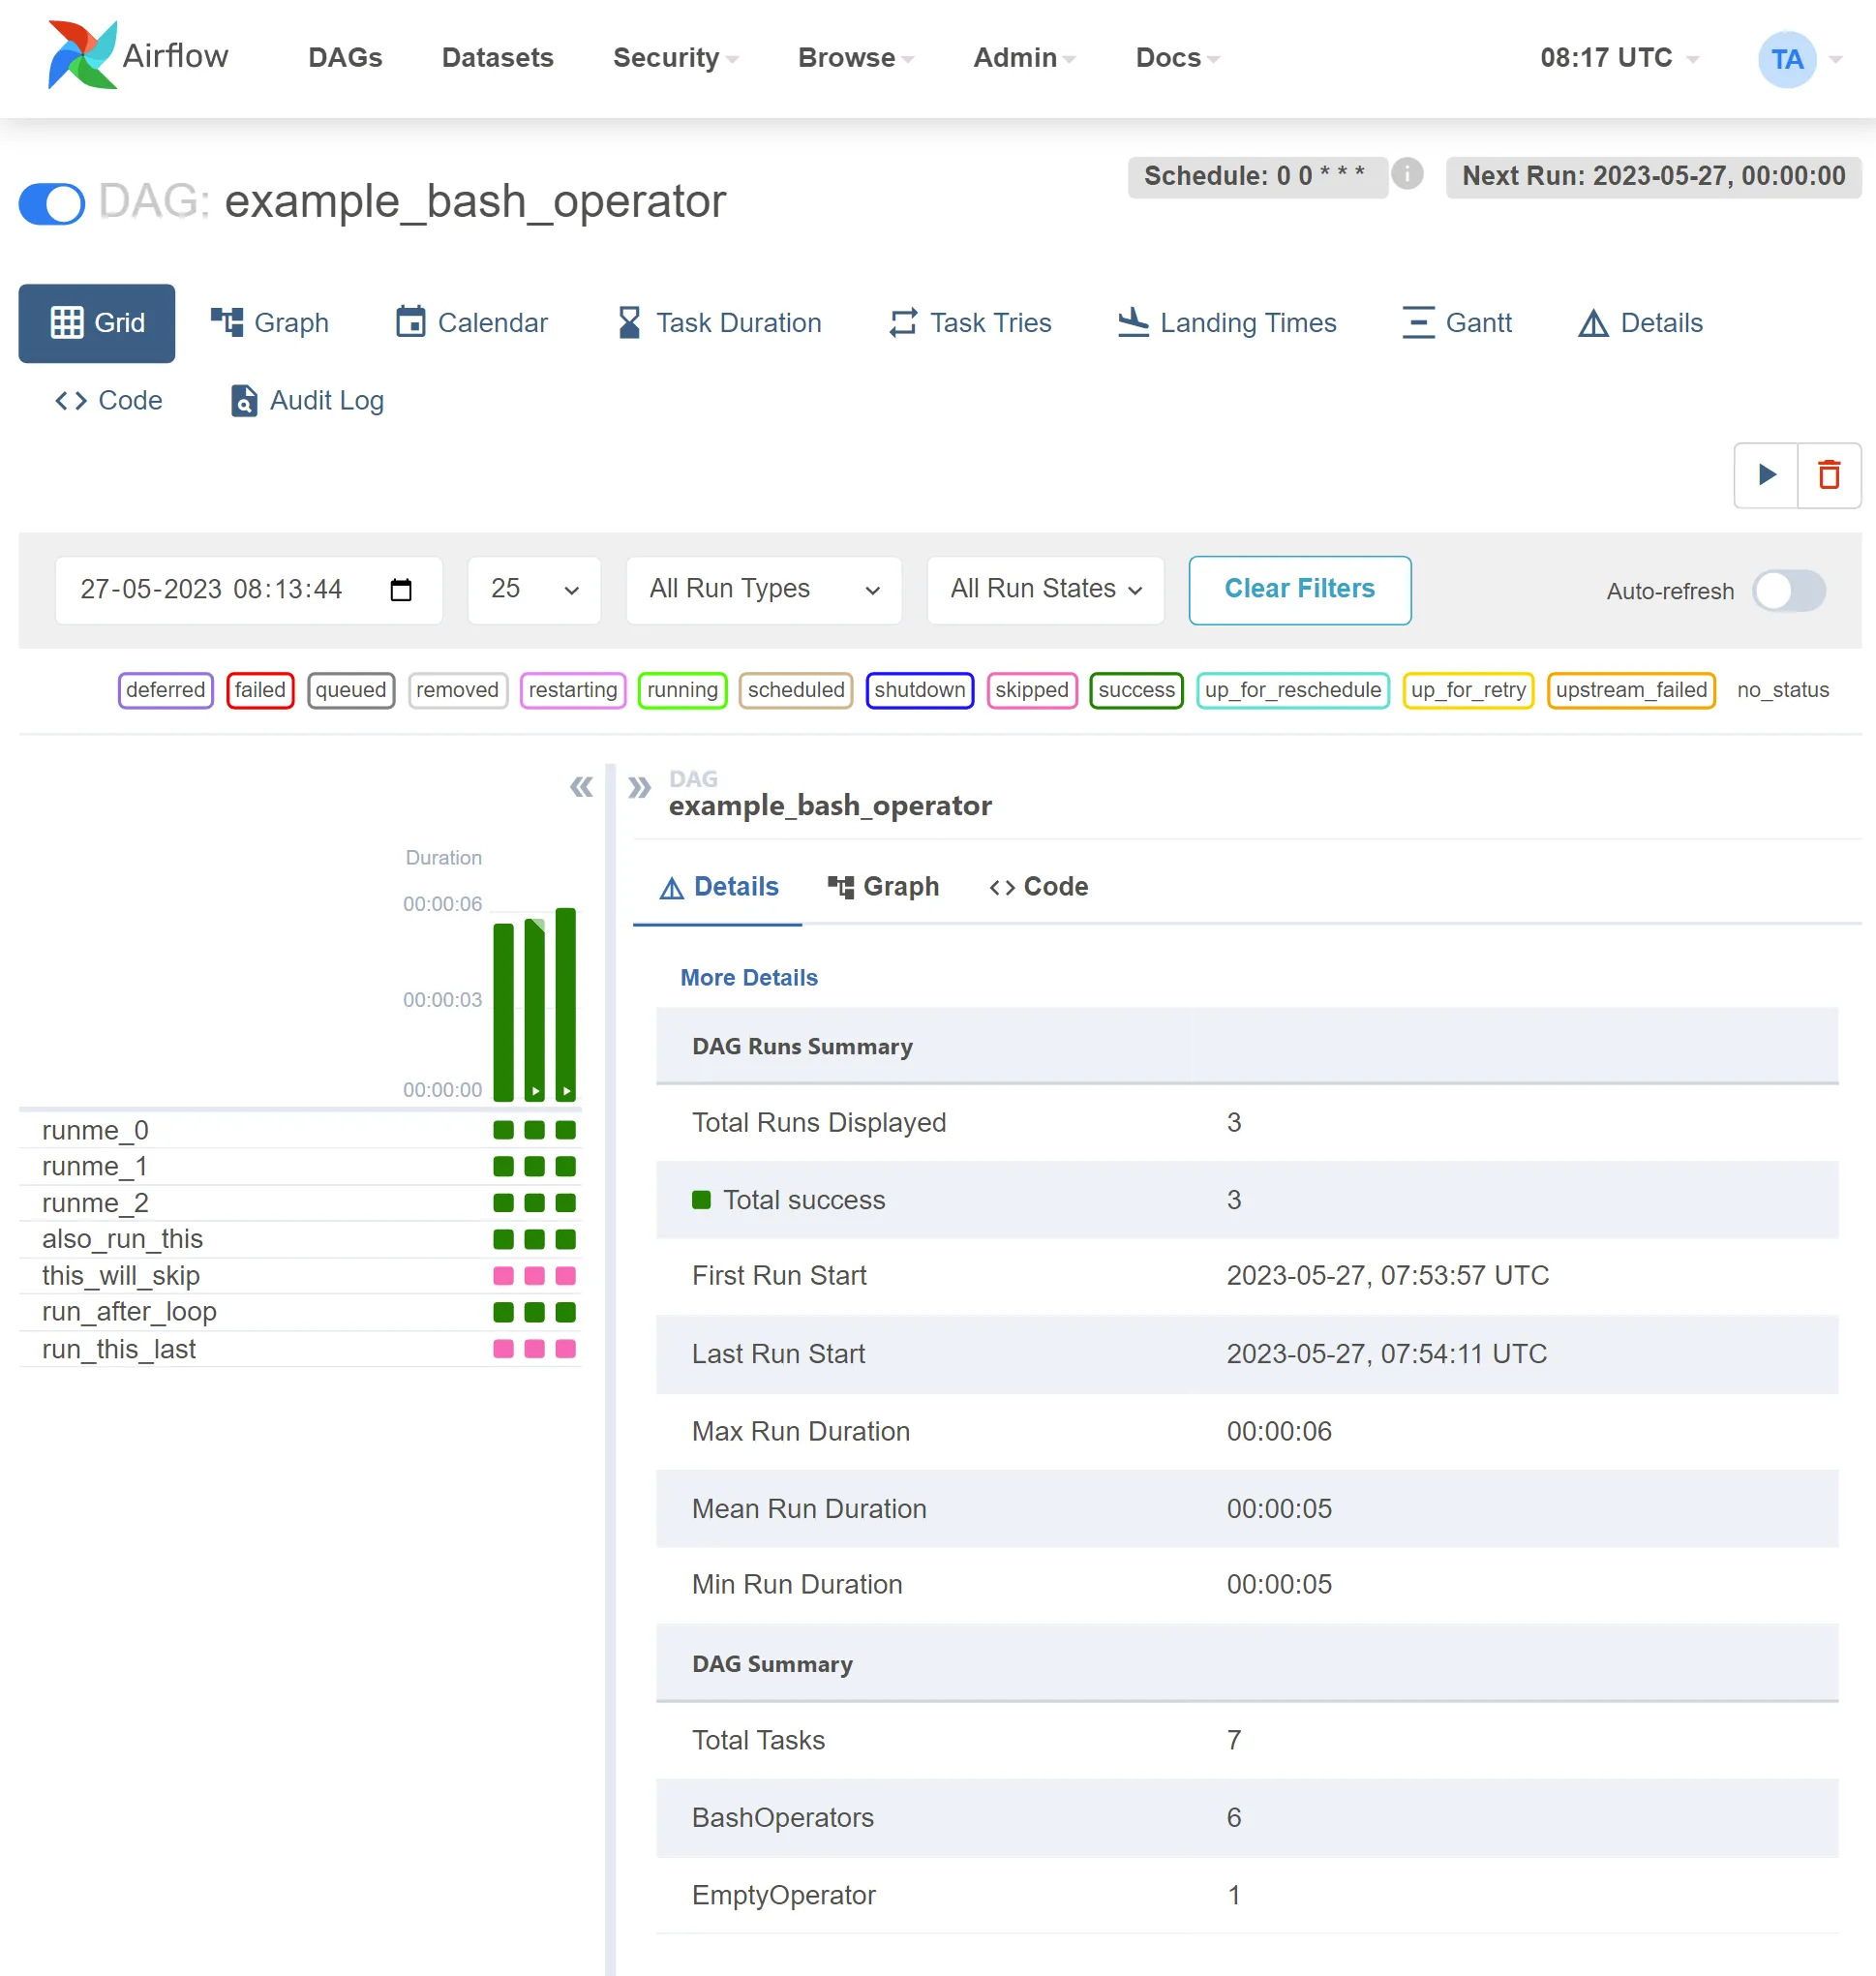
Of the great things about airflow is the Airflow UI.

Open EC2 ports (optional)
If you are using an AWS EC2 you will probably have only the 22 port open to connect through SSH.
- Go to AWS console and then to the EC2 page. Use the sidebar to go to
NETWORK & SECURITY/Security Groups. - Find the security group of your EC2 instance and edit the Inbound rules.
- Add
Custom TCP Rulewith port8080.
Start Airflow
You can start airflow with:
airflow webserver -p 8080 # or simply use 'airflow webserver'You can now view Airflow at XX.XXX.XXX.XXX:8080 (Use your EC2 IP).
Secure Airflow UI
First we will edit the airflow configuration.
nano ~/airflow/airflow.cfgInside the section [webserver] find the line authenticate=X and replace it with:
~/airflow/airflow.cfg
authenticate = True
auth_backend = airflow.contrib.auth.backends.password_auth
Install flask_bcrypt and start python:
pip3 install flask-bcrypt

# start python
python3
And add a new user with:
import airflow
from airflow import models, settings
from airflow.contrib.auth.backends.password_auth import PasswordUser
user = PasswordUser(models.User())
user.username = 'new_user_name'
user.email = 'new_user_email@example.com'
user.password = 'set_the_password'
session = settings.Session()
session.add(user)
session.commit()
session.close()
exit()
Running airflow with supervisor
If you want a process always running and to be restarted on failure you should use supervisor.
Clean examples and other tests
Edit the airflow.cfg to disable the examples by editing load_examples = True to:
~/airflow/airflow.cfg
load_examples = FalseIf you still have examples running you can reset the database:
airflow resetdb -yThis will delete all data be careful.
If you can’t delete the previous example try deleting ~/airflow/dags/tutorial.py first.
After cleaning all examples you should stop all airflow processes with:
pkill -f airflowThis will delete the current DAG information
Running supervisor
First install it with:
sudo apt install supervisor -yThen create a folder for the airflow logs:
sudo mkdir /var/log/airflow/And now declare the airflow services by creating the file /etc/supervisor/conf.d/airflow.conf
/etc/supervisor/conf.d/airflow.conf
[program:airflow_webserver]
command=airflow webserver -p 8080
stopsignal=QUIT
stopasgroup=true
stdout_logfile=/var/log/airflow/airflow_webserver.log
stderr_logfile=/var/log/airflow/airflow_webserver.error.log
autorestart=true
user=ubuntu

[program:airflow_scheduler]
command=airflow scheduler
stopsignal=QUIT
stopasgroup=true
stdout_logfile=/var/log/airflow/airflow_scheduler.log
stderr_logfile=/var/log/airflow/airflow_scheduler.error.log
autorestart=true
user=ubuntu
We are running airflow with ubuntu user since by default it gets installed to ~/airflow. You can change the default path and use another user.
Then start supervisor:
sudo supervisorctl reread
sudo service supervisor restart

# Check the result
sudo supervisorctl status
And that’s it. You can now start using airflow.
Next steps
You can add DAGs in the folder ~/airflow/dags and they should be automatically loaded.
It is advised to run airflow with at least a t2.medium AWS instance. You can run it with a smaller one (I use a t2.micro since it is in the free tier) but you can easily get your instance at 100% CPU usage while running tasks.
Using git
You can even change that path to a folder that is tracked with git to keep control of the DAGs by editing the airflow.cfg:
~/airflow/airflow.cfg
dags_folder = "home/ubuntu/airflow_tasks/src"To keep the code sync with the origin you could create an airflow task but it will fill the logs with useless information. This time ironically is better to use crontab to fetch the code. You can do it with:
crontab -eAdd this line at the end:
0 5 * * * cd /home/ubuntu/airflow_tasks && git fetch && git checkout master && git pull origin masterI use /home/ubuntu/airflow_tasks for the repo path and the folder src for DAGs path. But you can use whatever you want.